22nd September 2023
By Sharmini Jayawardena
These past weeks I have been busy dying paper. I first used a mordant on the paper. Thereafter I went on to extract the colour from the fruit peel and dying the paper in it.
It is advised to iron the paper after dying once the papers are dry. But I don’t think I will be doing this. This is just in case ironing reacts to the dyed paper.
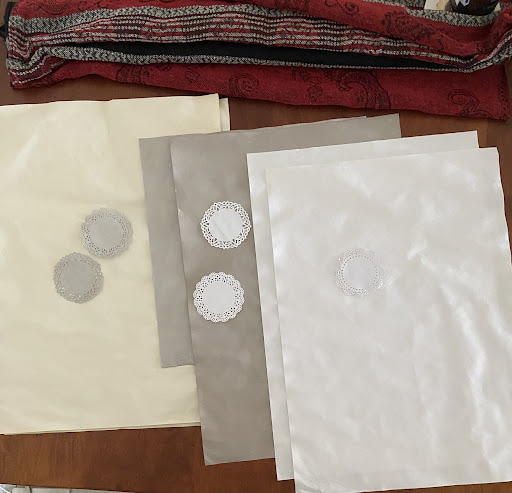
Dragon fruit dyed paper, mangosteen dyed paper and paper given just the mordant treatment
Amazing ?! Not really, when you consider how many journaling artists do this quite regularly. The most common natural dyes used are tea and coffee.
I found out a mordant should be used in order to fasten the colour to paper. You can find out more about this over here.
I also found out that although fruit peel is a great way to add colour to paper, glue had an impact on the paper colour later on, when you use the paper to make your journaling tags, cards and even when pasting the coloured paper directly on to your journal pages.
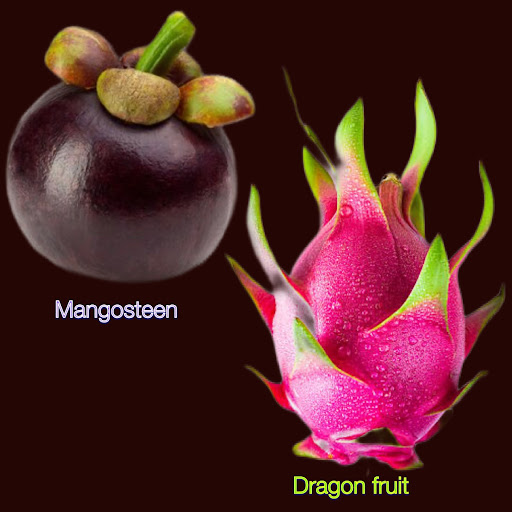
I dyed good quality copy paper in dye harvested from mangosteen and dragon fruit peel. I used the peel and stems of 6 to 7 mangosteens and the peel of 4 dragon fruits. The dye is really vibrant when you harvest it. The mangosteen became a bright purple and the dragon fruit, a bright red. (Sadly, it completely missed my mind to take pix of the mangosteen dying process).
As I proceeded to remove the peel and reheat the liquid down to a darker shade, the mangosteen retained its colour in a deep shade of purple, but the dragon fruit turned a bright orange !
How to colour paper with fruit peel:
To begin with, you have to cut open the fruit and remove the edible and tasty parts or pulp. Then you wash the peel, cut it into manageable pieces and place it in a saucepan used only for crafting. Do not mix utensils you use in your cooking for crafting.
(For the mangosteen, just break the peel into regular size pieces). Then add water to the saucepan to cover the peel and boil it.
Use aluminum vessels where ever possible as it helps in giving the dye a darker shade.
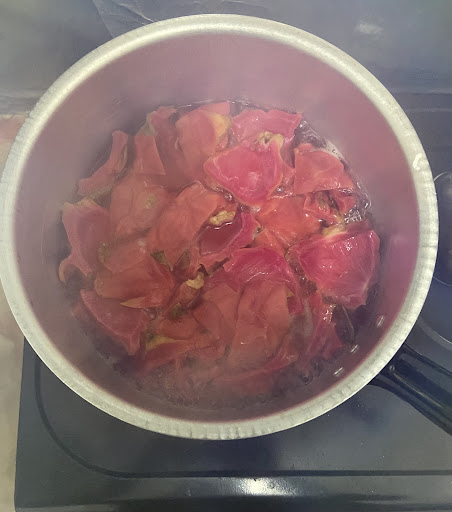
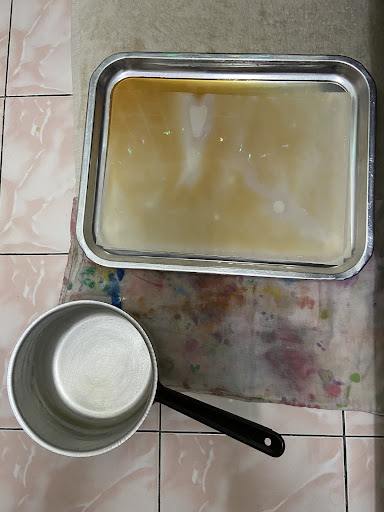
Here are some pix of dying with dragon fruit peel:
*
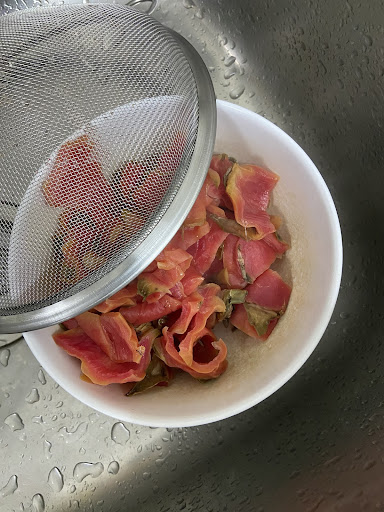
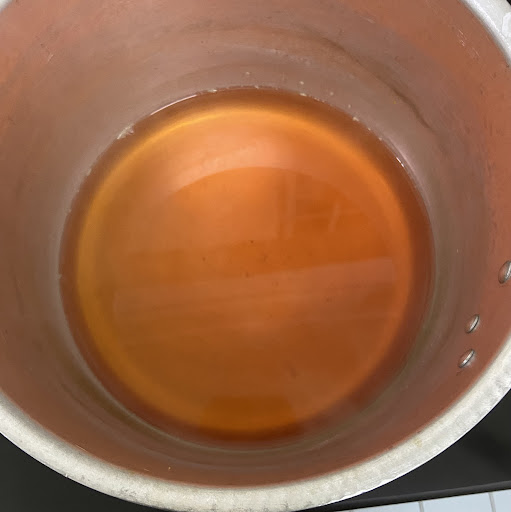
The deep orange of the dragon fruit peel
After much of the colour has been extracted, you strain the liquid out into a glass bowl and toss the peel or use it in you gardening.
How the dragon fruit dye looked in the initial stages:
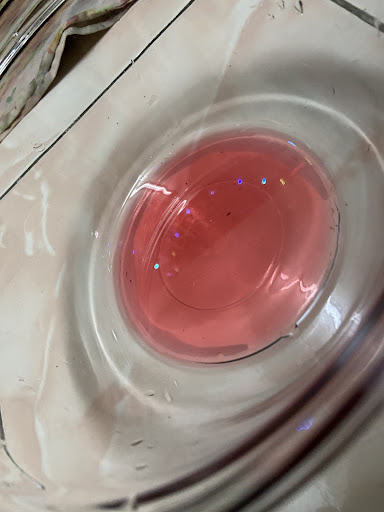
This is only a little portion of the dye. I forgot to take a pic of the entire lot.
The next step is to strain the dye through a strainer lined with muslin, so that you have a clear dye. I used butter muslin from the craft store.
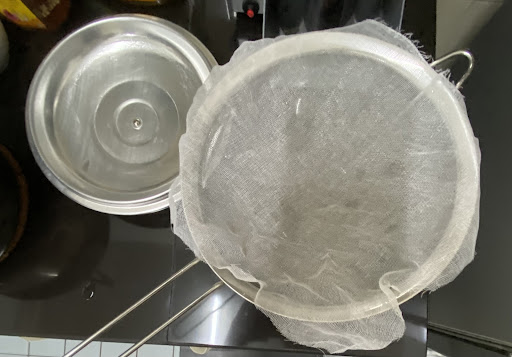
Once you have boiled the dye down to about a cup or so which is adequate to dye two to three A3 size copy papers, you pour it into your container and dunk the papers in the dye.
If you want to dye lace or cloth, you should have a separate batch of dye for this.
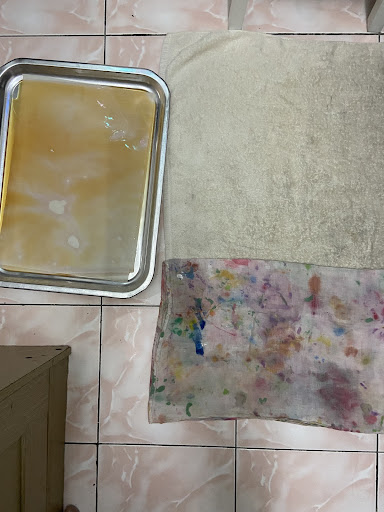
Leave to soak until the liquid becomes cool. Remove the papers carefully onto old towels you have given up using. Let them dry under the fan. Keep your windows open to let fresh air in so that you won’t be breathing the fumes.
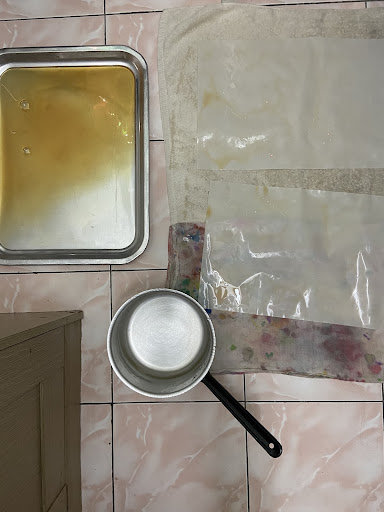
Once the papers are not too dry and not too wet, you go on to boil the dye further and follow the initial steps of dying the paper, as given above. Continue doing this for about three times.
Remember, you have done this three times over using soya milk and water as a mordant, prior to dying the paper in fruit dyes. It is the same procedure over again. Except that for the mordant you mix 2 tbsp soya milk in a cup of water to create the mordant, which you then heat up. This quantity of the mordant solution is enough to dye 3, A3 size copy papers.
Results:
My papers became a light yellow which was the dragon fruit peel and a moderate grey, which was the mangosteen. (These colours suit me well, as I embark on a journal which requires a muted colour palette). The white papers were given just the mordant treatment.
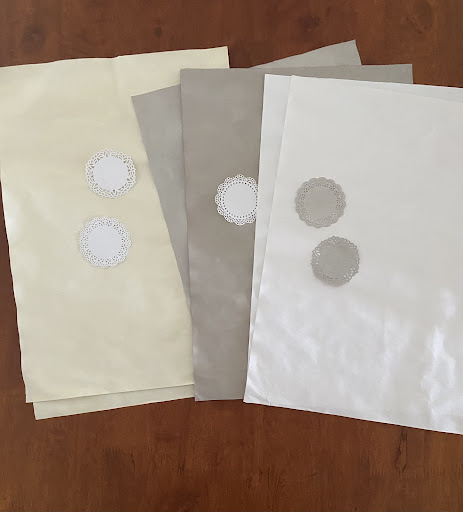
I’m happy with the results
I have to find out which glue is better for when working with the mangosteen dyed paper. However, the orange discoloration in patches that appear, add to a vintage effect which many journaling artists strive hard to achieve in numerous ways of distressing paper. It all depends on your own preference.
UPDATED on 6th November 2023: Once the dyed papers are completely dry, many many days after, you should paint all of them over with Ethanol to avoid risk of becoming moldy or to prevent mildew from forming at some stage, if ever.
UPDATED on 19th October 2023: I have found out that double sided tape is the best adhesive for when working with mangosteen dyed paper. It has not left an orange patch since three days of having adhered it to a journaling spot.
You can work around this problem by stapling the ruffles and so on, to tags instead of gluing them on.
Journaling artists being the fixer uppers they are, can always fix the color change that happens with the glue, by painting it over with a similar color to the paper. I’m about to try this.
I also tried dying a paper with mango peel but with no mordant. The result was a dull pink coloured paper. I used this paper in creating a small notepad for a test journal I’m creating. It has been a few weeks and the paper still has a mango fragrance. The colour has not changed. So far so good. I must try using different types of glue on it.
The glue I tried are a Mod Podge, Uhu glue stick and PVA. The mangosteen paper reacted to all of them. I have not yet tried the tacky glue directly on the paper.
I’m yet to do the glue test on the dragon fruit dyed paper.
I will not be dying anymore paper in dye harvested from tropical fruit peel for this fruit season. I may experiment with durian peel. I will focus on tea dying, next.
It will all be shared in the big reveal of the resort themed mini test journal I am about to show in my next post here.


